There are many reasons you might want to use iOS 13’s new Dark Mode. One of the most talked-about changes coming to the latest version of Apple’s mobile operating system. In this article we will be going to talk about dark mode on iOS 13.
Maybe your iPhone’s screen is a bit too harsh on the eyes at night, or perhaps you have a newer iPhone with an OLED display and you’re looking for longer battery life. Maybe you just want a visual change.
iOS 13 is the thirteenth major release of the iOS mobile operating system developed by Apple Inc. for their iPhone, iPod Touch, and HomePod lines. The successor to iOS 12 on those devices, it was announced at the company’s Worldwide Developers Conference (WWDC) on June 3, 2019, before being released on September 19, 2019.
Whatever the difference, iOS 13’s Dark Mode is as robust as they come. It really does re-skin the entire system — everything from stock apps to the on-screen keyboard. Even the new wallpapers that come packaged with the update are completely transformed when Dark Mode is active.
However, it isn’t turned on by default, which means you’ll have to head into the Settings app to use it.
Here’s How You Can Get Dark mode on iOS
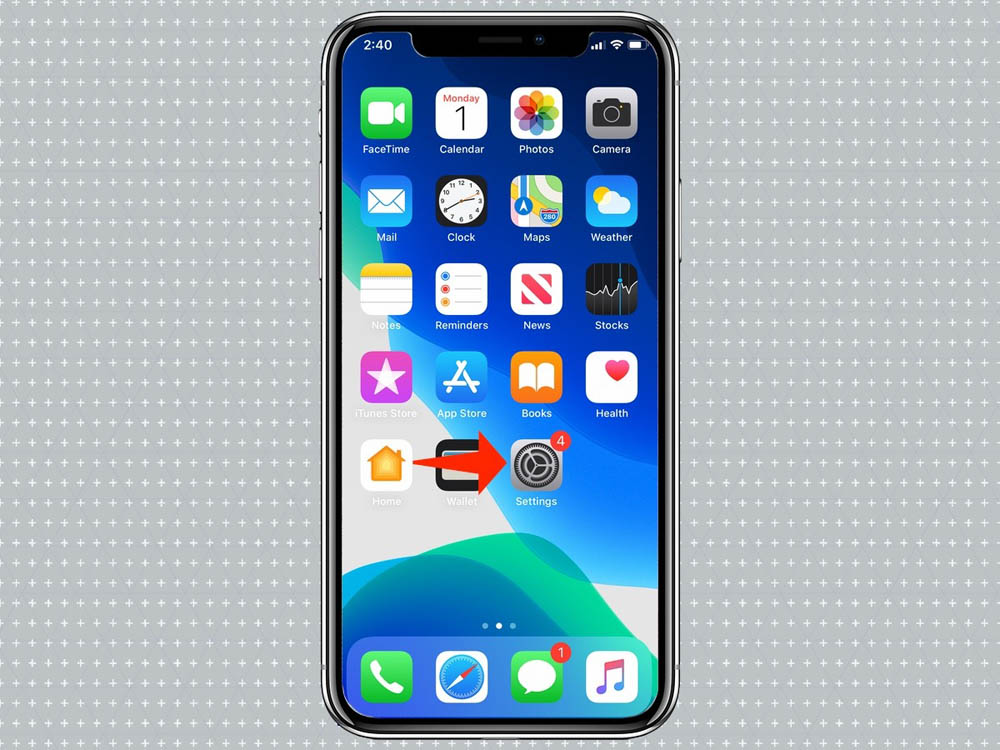
- Open Settings.
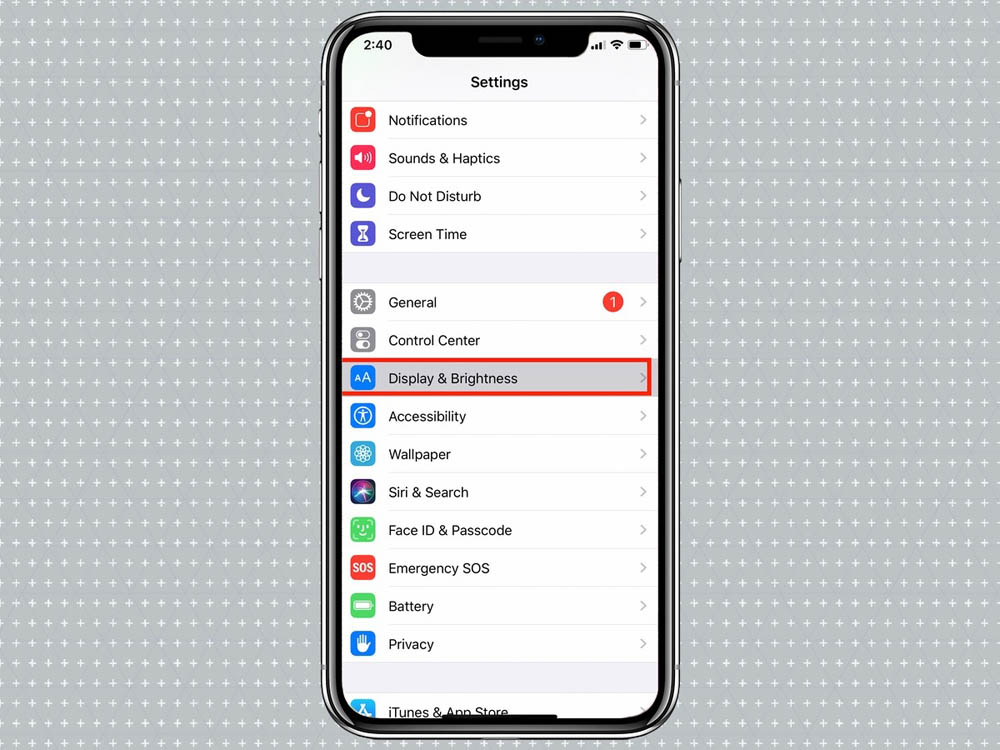
- Tap Display & Brightness.
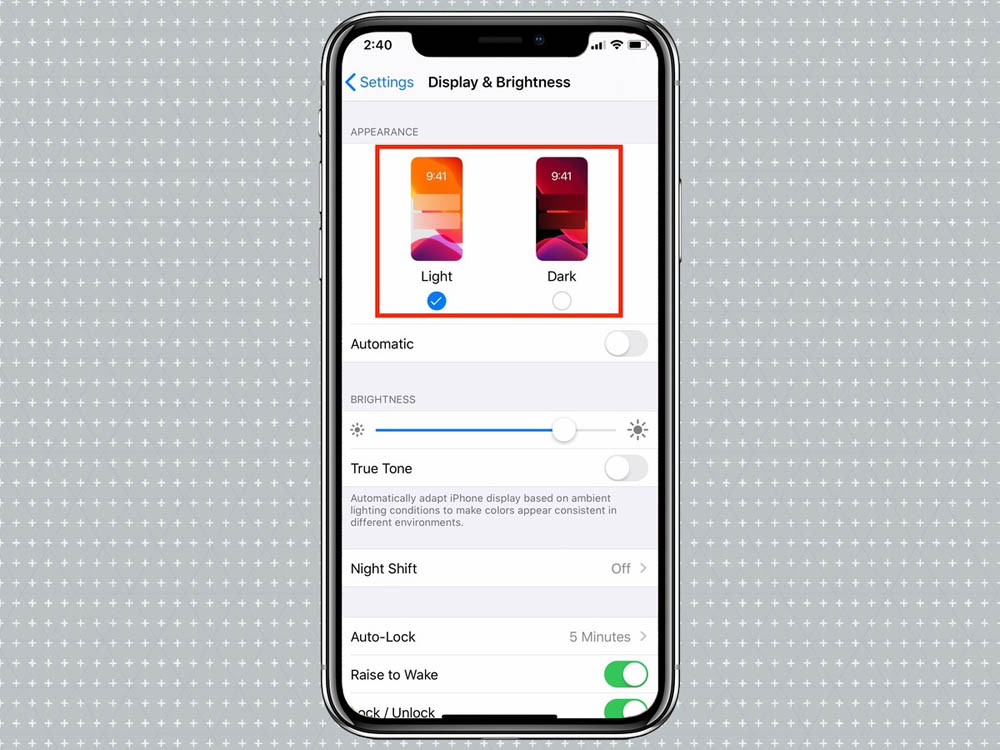
- New for iOS 13, you’ll see icons for Light and Dark themes at the top of the screen. Tap Dark to switch to Dark Mode. If you want to use Dark Mode all the time, that’s all you need to do.
- If you’d like your iPhone to switch between Dark and Light Modes depending on the time, toggle the Automatic setting on. (Doing this may switch your iPhone back to Light Mode, depending on the time of day.)
- Tap Options underneath the Automatic toggle to define when you’d like your iPhone to be in Dark Mode.
- The default setting is to remain in Dark Mode from Sunset to Sunrise. If you’d like to set your own predetermined schedule, tap Custom Schedule then modify the Light Appearance and Dark Appearance fields to adjust the times at which each mode will be active.


